Wednesday, 28 October 2015

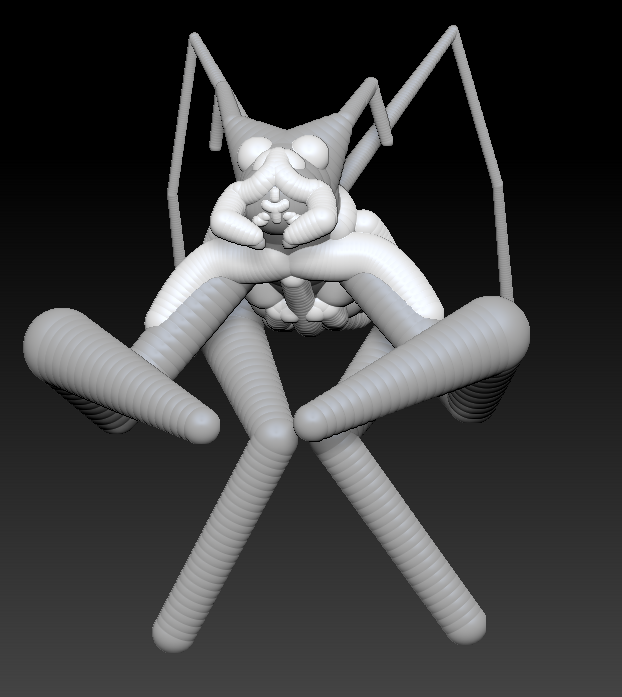
ZBrush Dynamesh and IMM Project


All Stages-Dynamesh and IMM Video
For this ZBrush session we were showed how to make a model with Dynamesh and attach parts to it with IMM parts. This would allow me to add the IMM parts to the model to create some interesting creatures.


Monday, 26 October 2015

ZBrush SubTool Project


All Stages-Sub Tool
For this ZBrush session we were shown how to use mask parts of the character's body and extract those parts to create clothes. Then with Sub Tool we could keep the individual parts on the own layers by appending them. Of course after that we would be allowed to have a go and see what we would create. I managed to complete this process and with the other tools that I had learnt in other sessions was able to make the clothes fit him as well as altering his appearance.

Thursday, 22 October 2015

ZBrush ZSpheres Project (Video)

All Stages-ZSpheres Video

A Video showing the process of a different ZBrush model I made with ZSpheres.

Wednesday, 21 October 2015

ZBrush ZSpheres Project

Stage 1-Model Mesh
For our second lesson with ZBrush we used ZSpheres to model a creature character.

Stage 2-Smooth Model
After using the ZSphere tools I then smoothed out the character and created an active mesh which would later be used to create a model mesh.

Stage 3-Detail Model
Finally I then started to create the physical model mesh using skills that I had learnt during the lesson about ZSpheres.

Monday, 19 October 2015

ZBrush Head Project

Stage 1-Base Head Mesh
For my first session in ZBrush we were set the task to experiment with the tools we learnt to make a detailed head using the base mesh of a head as seen above.

Stage 2-Tools
First I started off by using the move tool to mould and stretch parts of the face to create depth and shape that I wanted for the head.

Stage 3-Brushes
When I was satisfied with the outcome I moved on to using the brush tool to add extra layers for the mesh to develop features such as hair and mussel tone.

Stage 4-Colour
Next I started to add colour using a base colour and like Photoshop working my way up with layers of colour to try and create a detail skin tone.

Tuesday, 22 September 2015

Cyborg Project

Step 1-Narrative and Character Bio
For our summer assignment we had to model a cyborg character using the techniques we had learnt over the year to best of our ability. To start off I wrote a short story narrative about the characters background and on a separate sheet I typed up a character bio which lists the characters features and traits.

Step 2-Thumbnail Sketches
Then I moved on to rough silhouettes of my cyborg character. These silhouettes can give me a clear idea of what its structure could be like as well as her features.

Step 3-Final Piece
After choosing a silhouette I moved on to the final stage of my cyborg character, which involved digitally painting and adding detail. This was a very effective way of working as I have used this work flow before but the outcome was less effective this time however the proportions are much better.

Step 4-Model Sheet
Then I moved on to a model sheet which has a front and side view this would allow me to model my character in Maya with a rough guide.

Step 5-Low Polygon Model
After sketching up the model sheet I then imported it into Maya to model my cyborg character as a low polygon model under 15000 triangles.

Step 6-UV Mapping
Then I moved on to the UV mapping which meant for me to unfold the character. This part is quite technical and something I do struggle with often.

Step 7-Modeling in Mudbox
Now I have able to import my character's low polygon model into Mudbox to try and add detail for a high polygon model. Over all I am proud with what I have as modeling is my weak point but with practice I do believe I could improve.

Thursday, 26 March 2015

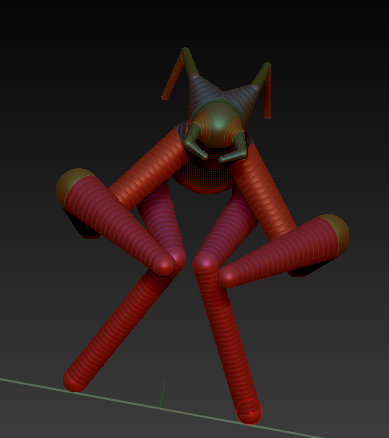
Character Modeling Assignment

Step 1-Reference Images 
For this Maya Assignment we had to model a character called Finn using the techniques we had learnt before.

Step 2-Box Modeling 
First I started to box model the feet and work my way up by shaping and adding edge loops needed for the model's structure. As I reached the waist I had to create an arch to form the legs then I extruded up to the chest and back. Then I extruded the arms until I got to the hands which were quite difficult to do. Finally I reached the head another part of the body I found difficult but managed to do.

Step 3-UVs
After I modeled the character I then moved on to the cutting and unfolding of the UVs which would help me texture the character later on.

Step 4-Texturing
Finally when the UVs were unfolded I saved the UVs using UV Snap Shot to which I would load in Photoshop to add the textures and Colours on to the model.