Stage 1-Mood Boards
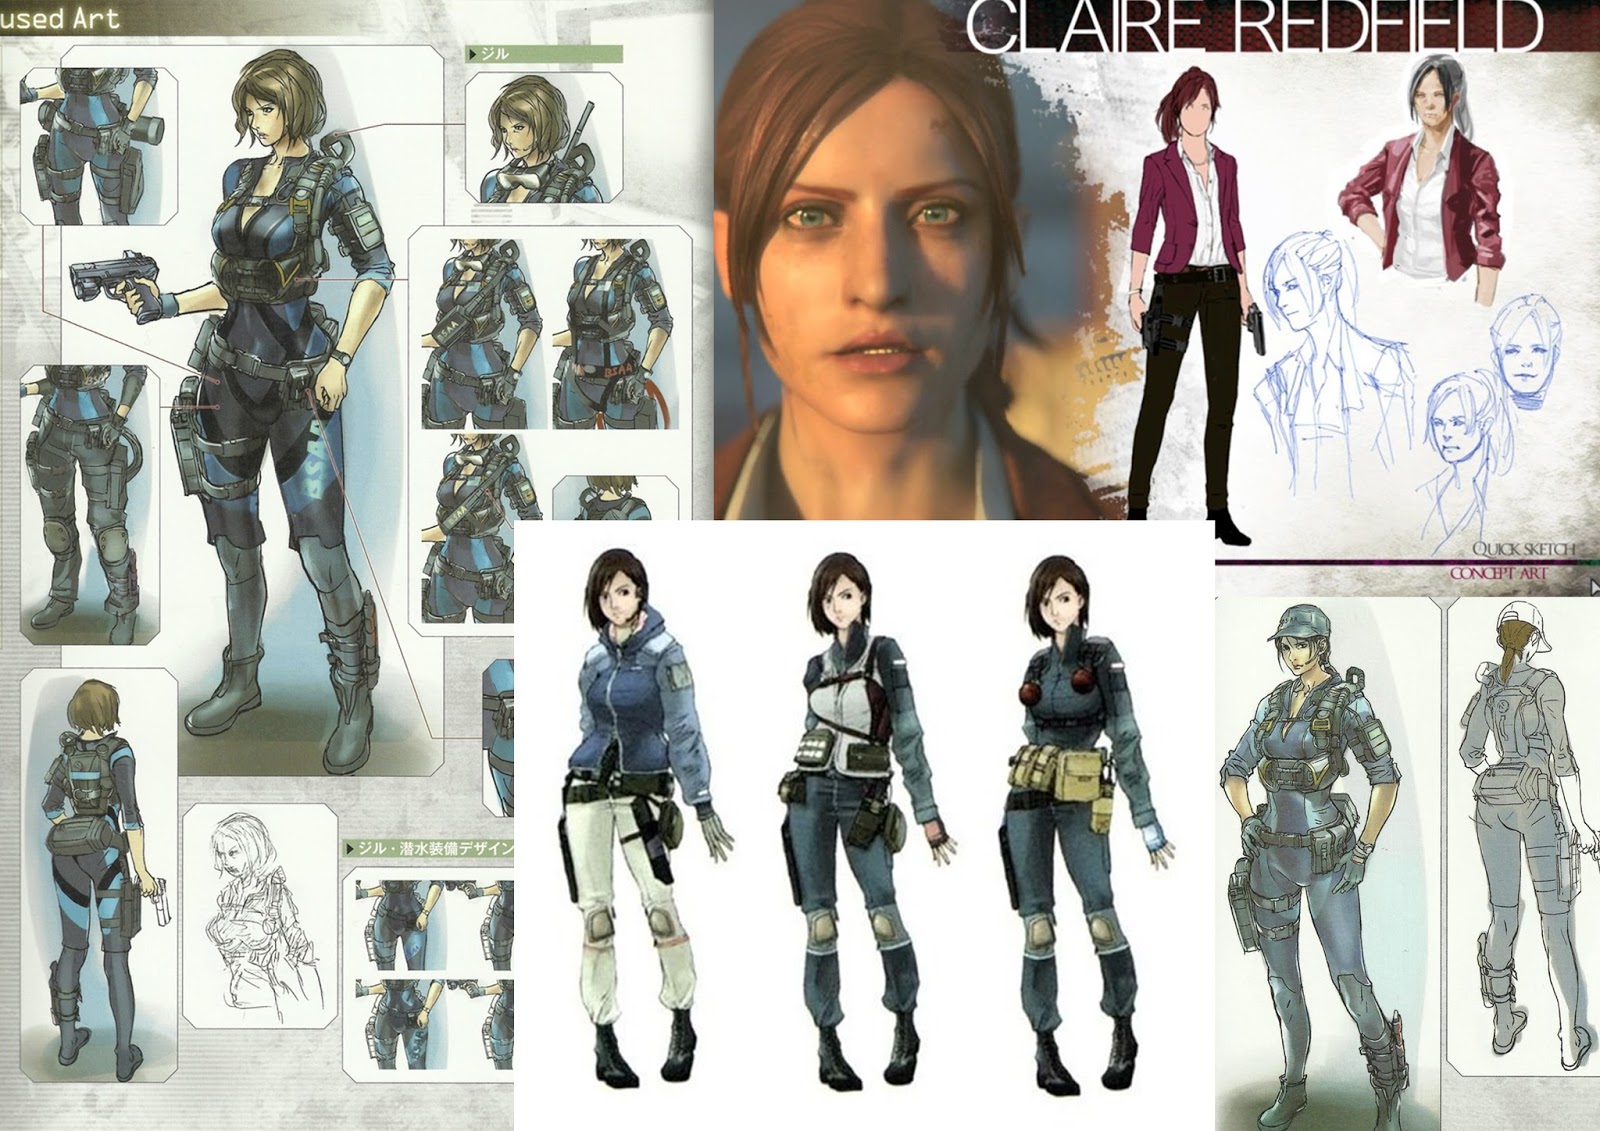


As usual I started off with a mood board or in this case three, so I can have an idea of the characters face, body and the way others have made female bodies in Maya. This processes is quick and from this I can sketch and plan my next steps and develop ideas.
Stage 2-Character Photo References


As seen earlier on my blog I posted up the experiment piece of photo manipulation to make a character reference sheet. However I changed and added more elements to her which give her a unique look and feel about her. I really liked it and it fitted the character I have had in mind for a while. This can also be used for my concept and idea process. I also made another outfit to see how it would suit her but I prefer the first one.
Stage 3-One Sheet
 For this stage I made a one sheet which describes the character's personality, appearance and both back story and the world she lives in. This will allow me to understand and work off the idea of how she might move, talk and dress for later concepts and modeling.

Stage 4-Silhouettes


Stage 5-Sketches

Soon after the Silhouettes I began to work on practising some sketches of the character's face and hair, to help guide me I used my photo manipulated picture to help me roughly sketch out the features. This was quite successful but I will be doing more sketches with the body anatomy and the bring them all together to make a final piece.
Stage 6-Final Concept

After sketching and designing some silhouettes, I began to paint up a final image of the character in a pose which is fitting for her and the world. I used all the techniques that I had learned to digitally paint the character as well as use some photo bashing to add or finish off some fine details.
Stage 7-Model Sheet

Once I was finished with the concept and art stages, I then moved on to making a model sheet. Which I would use to model my character's body, for this I needed a front and side view. These are just simple anatomy sketches.
Stage 8-Low Poly Model

After I added the model sheet I began to model my character's body in a really low poly count then once I was done I used the smooth tool which added in divisions to it. I then altered some parts to fit the character's model sheet once it was smoothed. Finally I added the hands and head that I modeled previously but I will soon have to model the eye and keep it separate.
Stage 9-Additional Mood Boards


Once I was finished modelling a low poly female body, I then proceeded to collect further research for anatomy of a female body to help refrence while i model in ZBrush.
Stage 10-ZBrush


 Using tools that I have learnt in previous ZBrush sessions I was able to sculpt some of the muscles groups and add some fine details in the face and hands. I a still finding ZBrush hard to use but with more practice in the future I could improve on my skills in this software.
Stage 11-Extract and Subtool
 In this stage I started to group the different parts of the clothing such as her coat, trousers and shoes. I used the techniques to extract each bit of clothing and then subtool it for adding detail later.


Stage 10-ZBrush


Stage 11-Extract and Subtool

Stage 12-Clothes


Once all the main items of clothing were extracted I then began to add detail to them, with the use of a custom brush and some custom alphas for features and textures. I used the custom cloth brush to add creases and folds to the fabric based cloths. Then I used two fabric alphas to texture the trousers and coat.
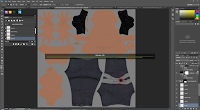
Stage 13-Skin Detail


The next stage was to apply some custom alphas for a realistic skin effect. I achieved this with the use of two different custom skin and pores textures. Which I applied to the skin that was being shown.
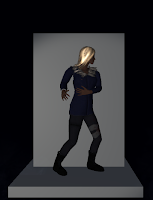
Stage 14-Accessories


This stage still needs work but I have applied some straps with the use of some IMM brush tools. I have added a zippier, a strap across her chest and a gun hoister strap. I will later add the actual gun hoister and buckle for the straps.
Stage 15-Hair


This is a trail and error process as I have never done this before, but I am using a IMM hair brush to create strands of plains of hair for my character which I can later unwrap for adding hair alphas for my character. So far it seems to be going well and is more of a easier way to achieve what I want. I also applied this technique to the fur on the coat collier.
Stage 16-From ZBrush to Maya


Stage 17-UV Unwrapping


Stage 18-Eyes
 Once I imported all my character's parts I began to recreate the eyes that I learnt previously, this is a quick and easy method. The challenging part was applying the eyes to the character's head model. But I was successful adding into the scene.
Stage 19-Hair Texture

 For this I made some new hair alphas for my characters hair, there are three types for the the three different hair strands. Using the techniques I learnt two weeks ago I was able to make it look more like a full set of hair. I am happy with its outcome however I fell like it would need some more work on. I also applied this to the fur on the coat as well.
Stage 20-Baking in xNormal
 After adding the hair alpha, I began to bake my low and high poly models so I could have a normal map, cavity map and a colour map. Which would be used later on for texturing.
Stage 21-Texturing


Stage 22-Rigging and Posing


 After texturing I moved on to rigging and posing which is still a new area for me. I started off by making joints which I would use to shape the character later on. Once I was happy with where the joints were I then binded the skin to the skeleton of the character, this meant if I moved the joints they would move the characters body. However after binding the character to the joints I then had to paint the weights which would allow the character to deform correctly. Once I was happy with the weights I then began to pose her. I am happy with the result, but rigging is an area I do struggle.
Stage 23-A Scene

 After rigging I began to set a scene which would present my character. I made it Unity to see if it would work. To add atmosphere I added a particle effect and sound. I also used simple code to allow the object to move this will show off my models views.
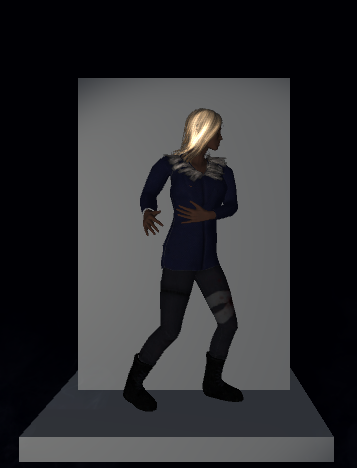
Stage 24-Final Outcome

 Finally I applied the textures to my character in engine and place her in her scene, with the working code. I am overall happy with this compare to my previous characters, I still have a lot more to learn but producing this has given my confidence to progress with character art, to make and improve my skills. The texturing is an area I still need to work on but I am confident to continue practising.
Stage 16-From ZBrush to Maya


After making a high model of my character, I then imported the individual parts such as the body, hair, fur, coat, trousers and boots. I imported the parts as an obj file.


Once I imported all the parts of the character I started to UV unwrap them so they could be textured later on. This process was long but I was able to unwrap the UVs and scale them to an equal size with the use of the checker pattern.


Stage 20-Baking in xNormal

Stage 21-Texturing


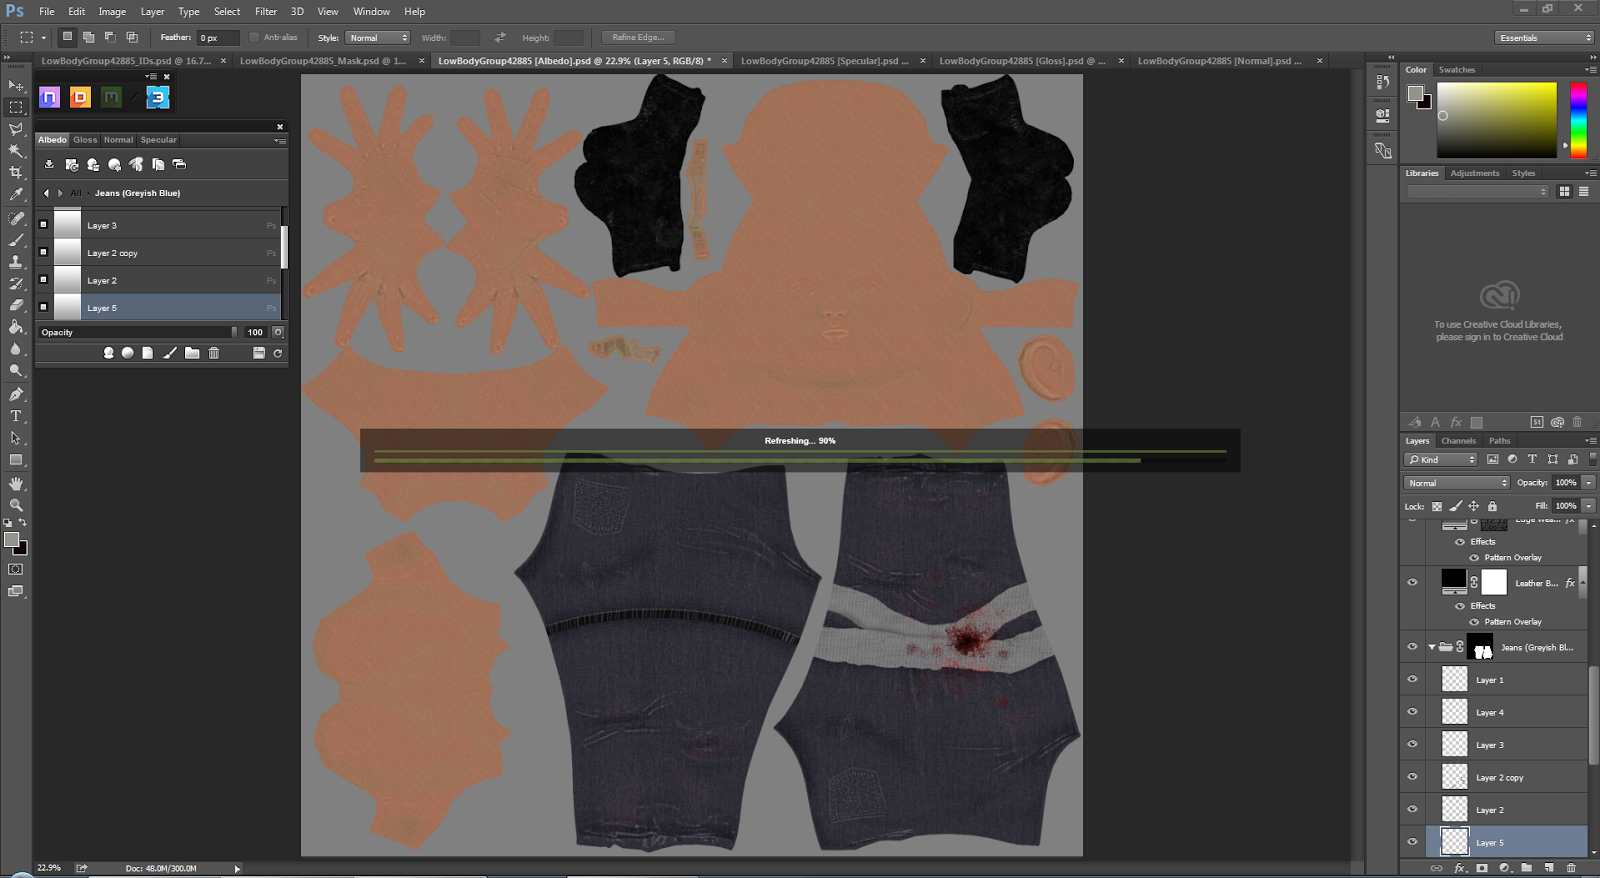
Once the baking was done I started to texture my character in Quixel with the use of the maps I made and baked. This process is fiddly but I was able to achieve the outcome I wanted, however I did face a lot of problems with this but I was able to find a solution.


Stage 23-A Scene


Stage 24-Final Outcome

No comments:
Post a Comment