Stage 1-Reference
Before attempting to do the alphas on the final hair, I started off by practicing how to make customs alphas. I used the image above to texture the custom alphas.
Stage 2-Alphas
To start off I used custom hair brushes on Photoshop to draw out the practice strand. Once I was happy with it I then selected the hair texture and placed it over the strand, I then right clicked over the texture layer and scrolled to the Clipping Mask which masked it over the strand. I then used eyedropper to select the basic colour and filled in the background. Next I saved two files as Targa one was of the black strand on the white background and the other was of the textured strand with a coloured background. I opened a copy of the black and white strand on the an pressed Ctrl I to invert the alpha and then I copied and pasted the colour alpha on top. The next stage was to copy and paste the inverted alpha in a new channel layer which created the final alpha.
Stage 3-Hair in Maya
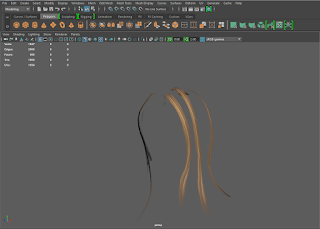
This is the final stage to apply the alpha on to the hair model. I first imported the hair model as an Obj file, then I created a new material called Lambert. Then I uploaded the final alpha as a file, once that was done I went to Hypershade and dragged the Lambert material onto the model. After that all that's left to do is make sure the UVs are planned out for the alpha to work but I am confident to do this for my final model.


No comments:
Post a Comment