Stage 1-Mood Boards


Like all my work before I start off with a mood board of image research, but in this case I had two one for low poly characters or stylized characters and the other for World War 1 German army uniform.
Stage 2-Draft One Sheet

During the research I made a draft one sheet to cover a few key details as well as the ideas we had. The art work was provided by my other teams Naomi and John.
Stage 3-Character Sheet


Once I had a few initial designs of the character done by our concept artist I designed a draft character sheet. At first we were pleased with the character but as time went we all agreed he looked too toy like, so we moved on to make him slimmer and stylized. Which lead me to finally design a final character sheet for me to model from.
Stage 4-Character Model

Soon after I modeled up the low polygon character which was based on my final character sheet. At first modelling it was easy until I got to the UV unwrapping which proved challenging as it was an area I struggled with before. However with help from one of my team mates I was able to find a simple and more effective way of dealing with UV unwrapping.
Stage 5-Painted Textures

Once the character was done and unwrapped it was just a case of adding textures. The textures above are ones that I painted in Photoshop with different brushes and filter to create the detail I wanted.
Stage 6-First Textured Character Model


After I painted the textures I then went on to take a snap of the unwrapped UV mesh map to add my textures and apply some detail such as folds in the cloths or belt buckles which was done in Photoshop. Then I saved the UV textured map as BMP file so I could apply it to my model, the outcome was a success at first.
Stage 7-Second Textured Character Model


However the characters textures didn't much the environment textures so as result I went back and changed my textures from a realistic look to a more stylized look like "Dungeon Defenders 2". After this the character was ready for rigging and animating.
Stage 9-Third Textured Character Model

 As a last minute thing I decided to add a bit more detail to the character's second texture. Which add a bit more depth in the character's body but obviously not tiny detail as the camera is a certain distance away and it would be pointless and unappreciated.
Stage 9-Third Textured Character Model


Stage 8-Rigging and Animation

Stage 9-U-Boat Soldier Textured Character Model


Like the main character above I went through a similar process for the U-Boat Soldier. However this character or characters would not be rigged or animated.
Stage 10-Creature Sketches


These are sketches and developed silhouettes for some shadow creatures which would have been enemies if the game went beyond the demo process we are doing at this time.
Stage 11-GUI Icon Art


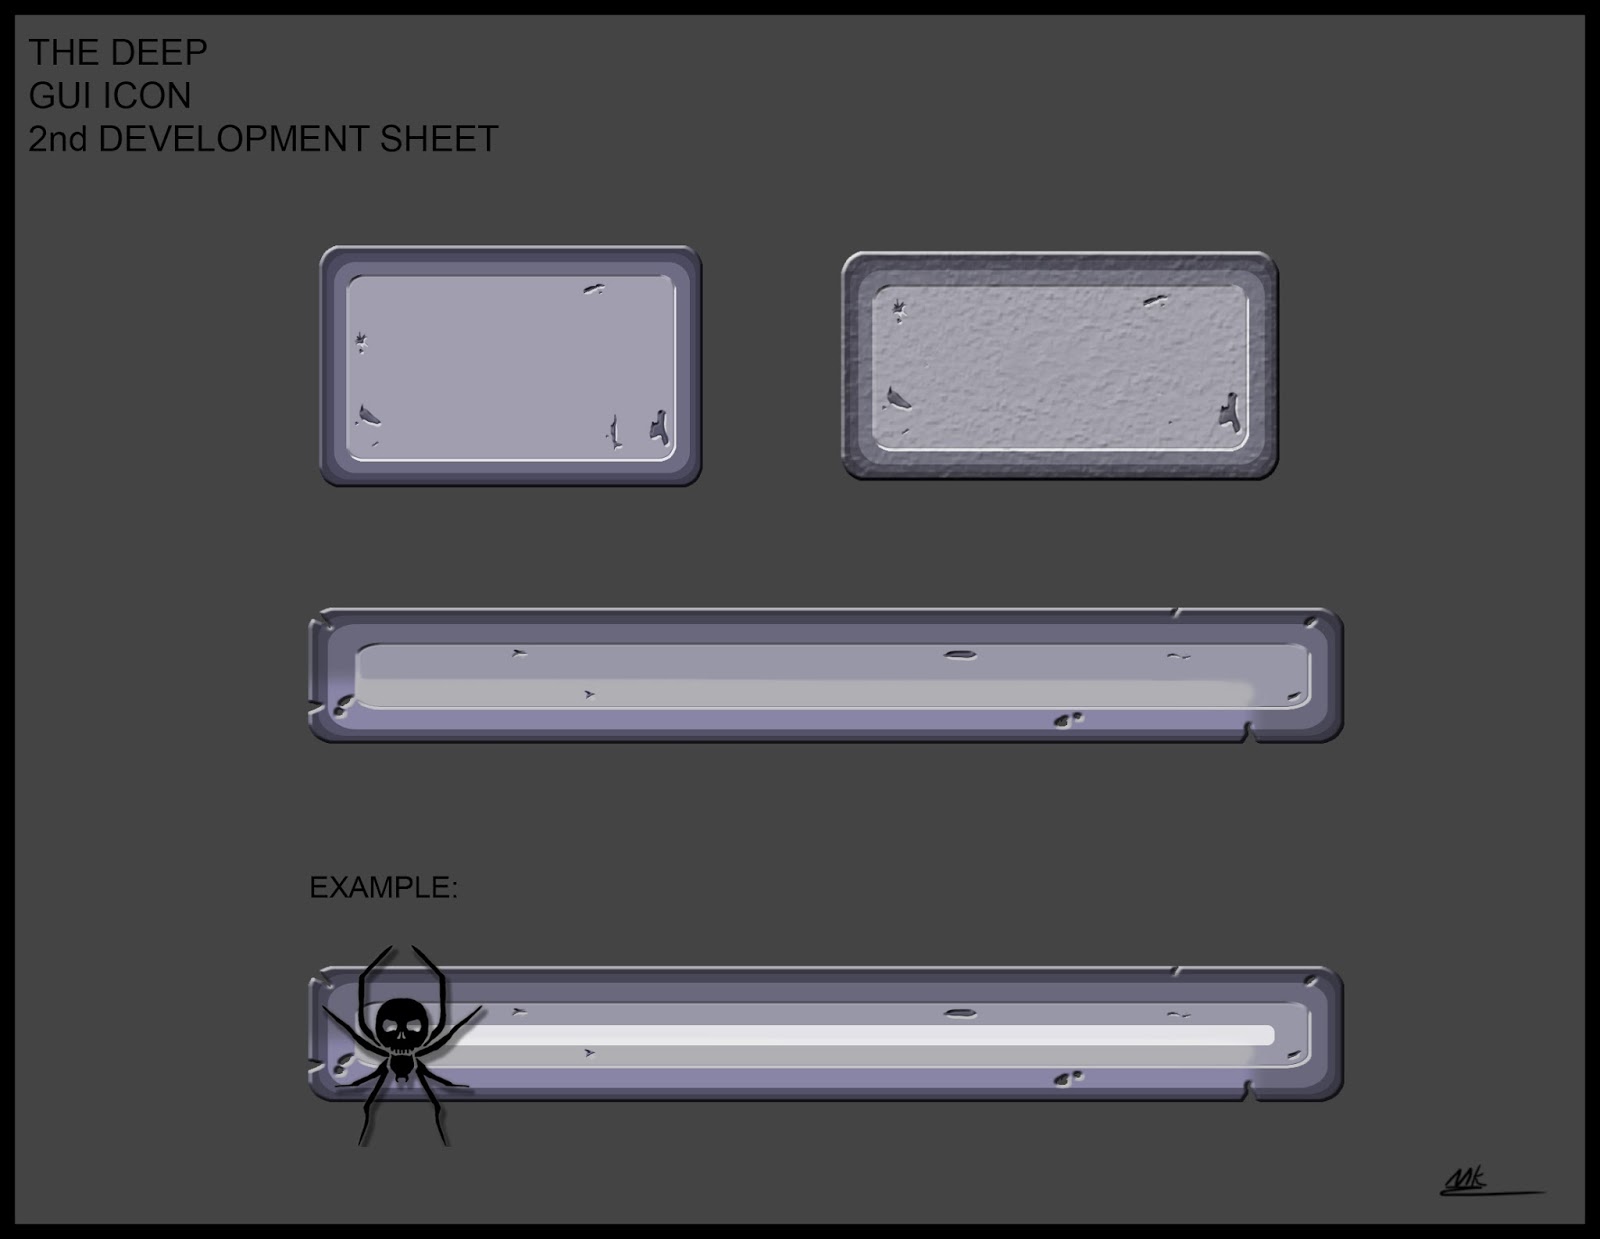
For something extra I designed some GUI icons such as a fear icon, pick up rock icon, crystal torch icon and a power crystal icon. As well as some a fear bar and menu and in game text boxes. The final fear icon which is the spider with skull body was finalized by my team member Alex.
Stage 12-Concept Art

This is a concept I did in my spare time but I liked it so much that I decided to put it forward for a environment concept art piece.
Stage 13-Draft Main Menu Design

Later on I decided to use my earlier environment concept piece for the background and idea for a main menu which we would need for our game. My team liked the idea and 3D version is being worked on for the game by the environment artist.
Stage 14-Logo
 I designed a team logo for the team which we could use for our team blog, box art and intro into the game. Overall I am happy with the work I produced it has been a tough project, but the outcome was really worth it and I have come away with a few new skills and techniques that I can apply to later projects.
Stage 15-Statue Texture
 To finish off my work on this project, I helped out my fellow team mates by making a statue using the base model of Adam Wassermann, and then I made a rock texture to use on it.
Stage 15-Statue Textured Model


Lastly when I was applying the textures I discovered I made a skull pattern with in the model. Which I then copied and pasted on to the statues head. As time was running short and we had no time to make a detailed version from the concepts but I feel like it adds to the ambient horror we are looking for.
Stage 14-Logo
Stage 15-Statue Texture

Stage 15-Statue Textured Model


Lastly when I was applying the textures I discovered I made a skull pattern with in the model. Which I then copied and pasted on to the statues head. As time was running short and we had no time to make a detailed version from the concepts but I feel like it adds to the ambient horror we are looking for.
No comments:
Post a Comment