Thursday, 5 March 2015

Steampunk Project

Step 1-Mood Board
For this project I started of with a mood board that I put together, with that were able to get me an idea to design a character.

Step 2-Ideas
From the research I was able to come up with a character that I called Felix. I was inspired by one image in particular on my mood board; which shows a man with one of his shoulders and arms that was armoured up. From that image I came up with an idea that I drew out on Photoshop and the developed on to.


Step 3-Final Outcome
The final outcome came out really well considering that the male body is something that I struggle to design from. Over all I think it was a success and has helped me to practice the male proportions on a human character.

Tuesday, 3 March 2015

Practice Project

Before
Today for practice I decided to produce a landscape painting of a world in the clouds. Once I painted the background I decided to add three colours such as grey, blue and yellow too see which one look more bright and heavenly. The red colour is suppose to represent something beneath the clouds.

Final
After I selected the colour I wanted, I then moved on to adding buildings of a Si-Fi culture. In the end the result was amazing and I am quite proud of the outcome.

Thursday, 26 February 2015

Rock Monster Project

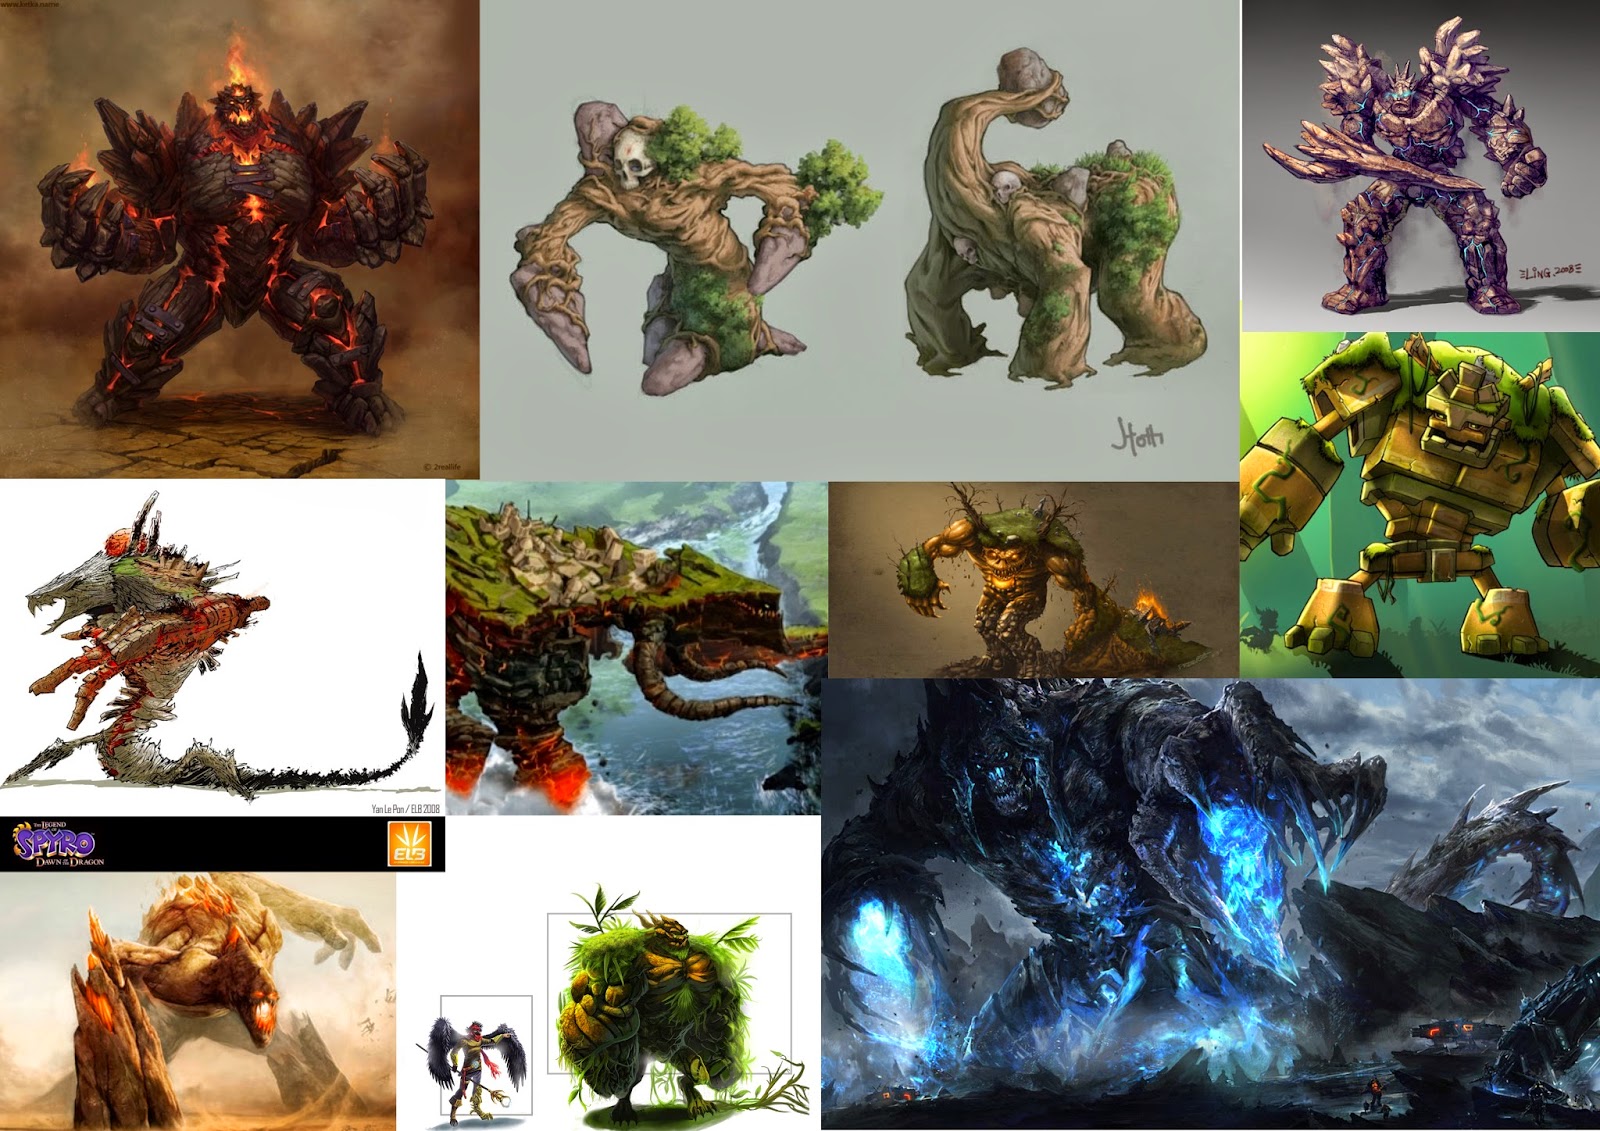
Step 1-Mood Board
For this project I struggled on what to design but I used the mood board that I put together, with that I was able to get an idea to design a Dragon made of stone.

Step 2-Rough Sketch
So after the research I then moved on to drawing out some rough sketches in Photoshop and from there I chose my chosen design to further develop.

Step 3-Final Outcome
Finally I started to paint out the base colours and then I practices some of the new techniques I had learnt in class. Such as overlay layer, texturing and the lava technique. This was a perfect chance to experiment with some of the new techniques which I think I have improved on, apart from the lava one that was a bit more harder to understand but over all I am happy with the outcome. 

Sunday, 22 February 2015

Paint Over Vampire Project

Vampire Model
After the Spaceship Turret we moved on to a 3D model image of a Vampire which we had to apply the same skills and technique we learnt for the Turret.

Vampire Model Textured

Friday, 20 February 2015

Paint Over Project

Step 1-Spaceship Turret Model
For today's session we learnt a technique in Photoshop called Paint Over. This means a 3D object like the Spaceship Turret would be placed into Photoshop as a flat image ready for the Paint Over technique.

Step 2-Spaceship Turret Model Texture
After the image is placed into Photoshop we then use textures a manipulate them to fit the object, the texture layers are also on a mode called Overly. This allows the textures to lower their opacity while keeping it's visual strength.


Step 3-Spaceship Turret Model Details
Finally after the textures are placed over the object, I then took the chance to add a few details like a colour layer which changed it to have more of a blue tint, then a rough painted symbol and a painted  hatch door with type.


Friday, 13 February 2015

Lava Monster Project

Lava Monster Model
Today's session we learnt how to create a lava effect and then apply it to a 3D model as seen above.

Lava Monster
To achieve the lava effect we used a normal brush but added a glow effect which was done by double clicking on the chosen layer and ticking the glow boxes. This meant on this layer where ever I drew a glow effect would appear. As you can see my attempt at the lava effect was a great start in my opinion but I think it maybe a bit too vibrant. All I can do is practice some more and gain the skill to make it more of a success.

Lava Light Show

Friday, 30 January 2015

Isometric Pixel Art Project

Cube and Cylinder
Today in our morning session we were taught the basics of isometric pixel art, which as seen above we started off by making a cube and cylinder which would be the basics of our retro robot.

Robot Outline
After that we were then allowed to make a retro robot using the techniques that we used to make the cube and cylinder.

Robot Colour
Finally after the outline I then started to colour in my robot with some flat colours. Then I started to add lighter colours with the opacity down to build up a level of 3D quality to my robot.